iPad 4 Wi-Fi Battery Replacement


Step 1 - Front Panel Assembly (2)
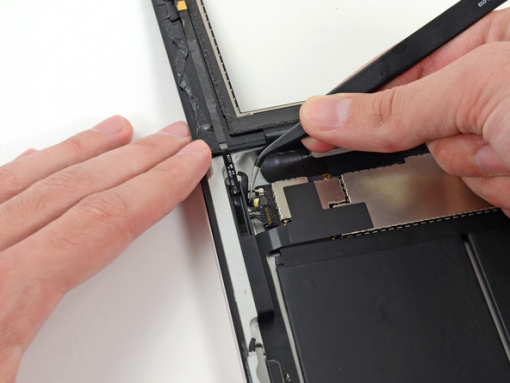
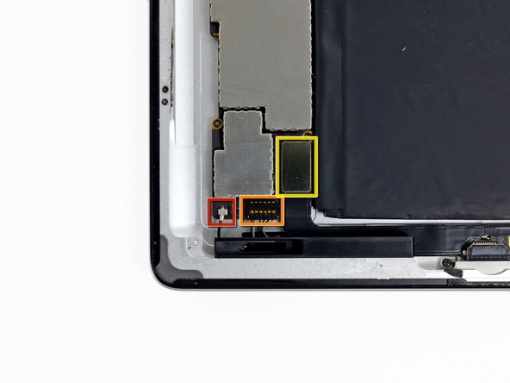
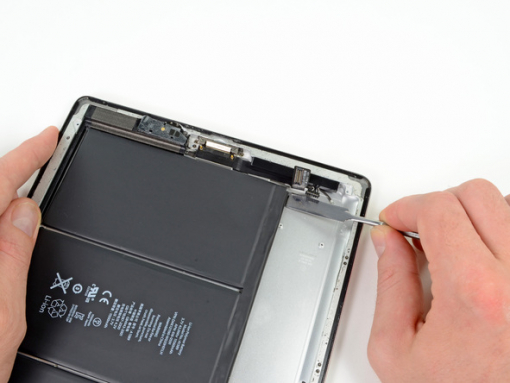
If there's a piece of electrical tape covering the Wi-Fi antenna, speaker cable and the home button ribbon cable, remove it.


Step 3
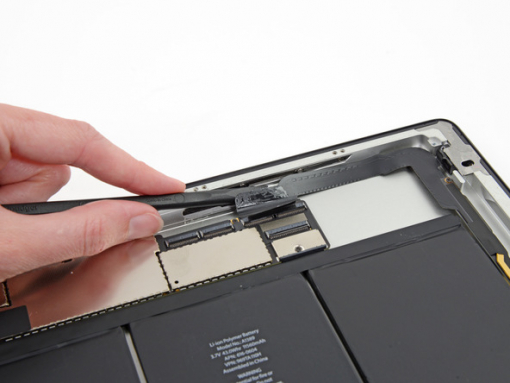
Pull the home button ribbon cable out of its socket on the logic board. Do this with a pair of tweezers.
Step 5
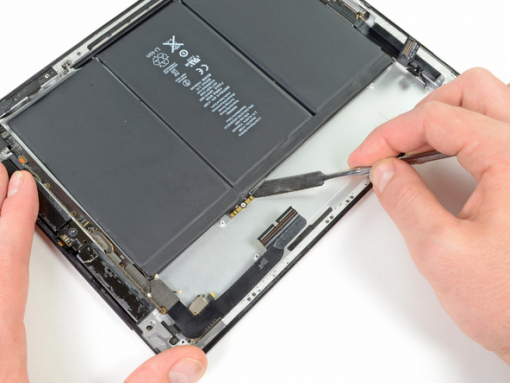
A piece of tape is securing the digitizer ribbon cable to the logic board. Peel it back with a pair of tweezers.


Step 7
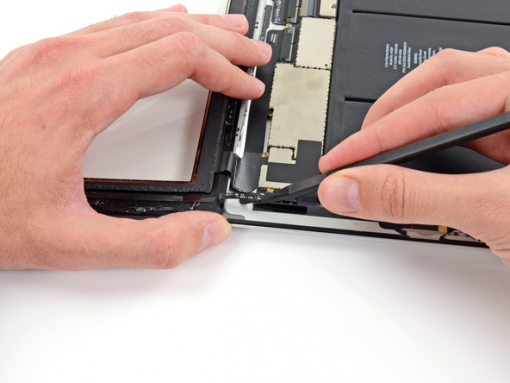
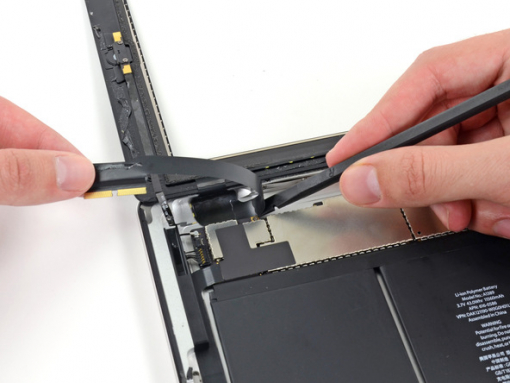
Loosen the adhesive under the digitizer ribbon cable with the flat end of a spudger.
Take out the digitizer ribbon cable out of its sockets on the logic board.


Step 8
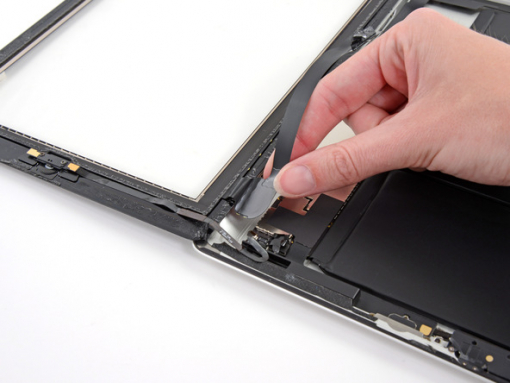
Peel back the digitizer ribbon cable. Separate the cable from the adhesive securing it to the rear aluminum case with the flat end of a spudger.
Step 9
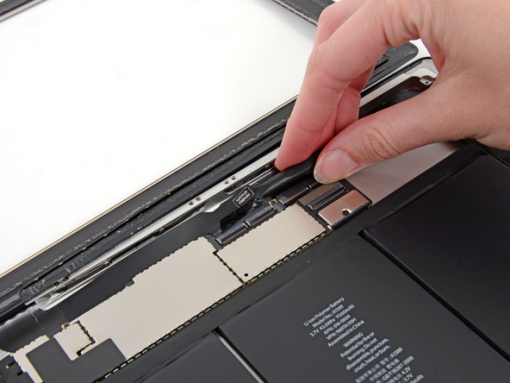
Take the digitizer ribbon cable out of its niche in the aluminum frame. Do this with your fingers.
Separate the front panel from the iPad.


Step 10 - Headphone Jack Cable
Back to top
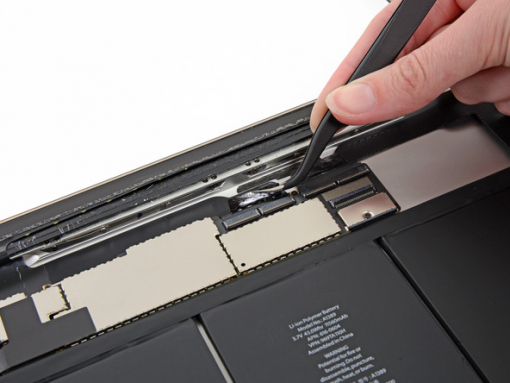
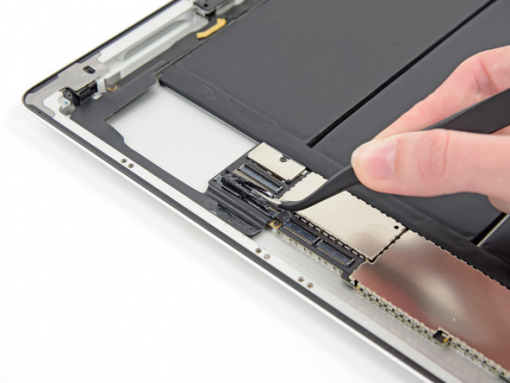
There's a piece of electrical tape covering the headphone jack assembly cable connector. Use tweezers to peel back the tape and remove it.
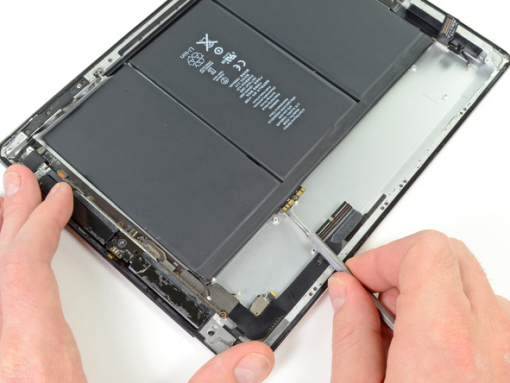
With the tip of a spudger, lift up the retaining flap on both ZIF connectors securing the headphone jack cable to the logic board.


Step 11
Push the flat end of a spudger underneath the headphone jack assembly cable and release the adhesive that's securing it to the rear aluminum frame.
Take the headphone jack assembly cable out of its socket on the logic board.
Step 12 - Logic Board Connectors
Back to top
Disconnect the connectors from their sockets on the logic board:
Wi-Fi antenna cable.
Speaker connector cable.
Dock/Lightning connector cable.
Do not pry under the socket, but the connector. Prying on the socket can result in your iPad getting damaged.
Step 13 - Logic Board
Back to top
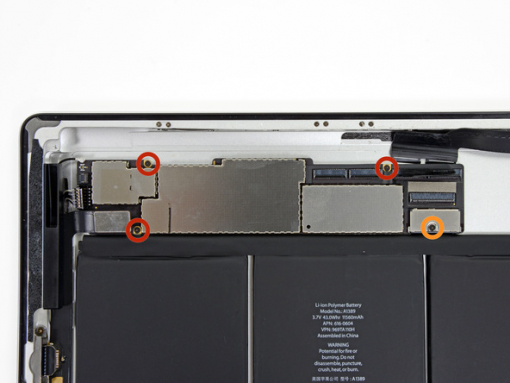
There are four screws securing the logic board to the rear aluminum panel. Remove them.
Three 2.1mm Phillips screws
One 2.5mm Phillips screw


Step 14
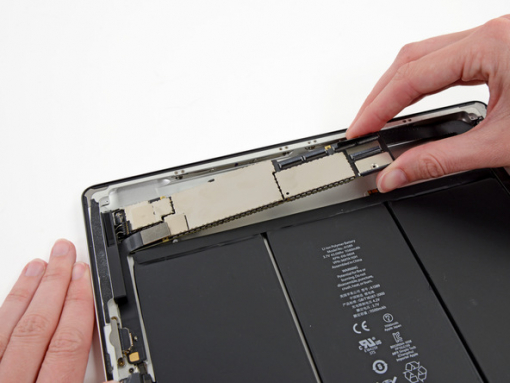
Take the board by the side opposite the lightning connector and gently pull the logic board away from the iPad.
Step 15 - Battery
Back to top
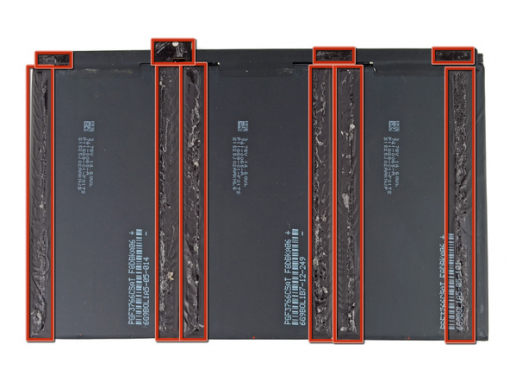
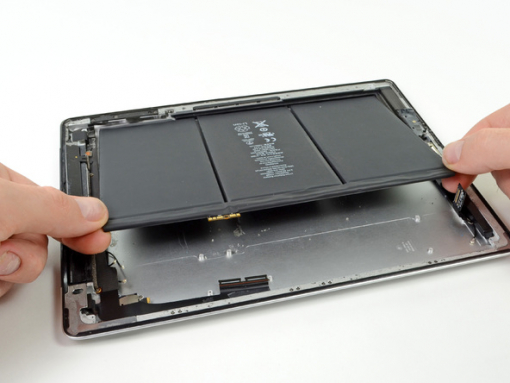
The battery is glued to the aluminum frame with very strong adhesive.
You will be removing the adhesive underneath the battery, two inches at a time. This way, you won't put too much stress on the battery.
Make sure that you don't damage or puncture the battery while you're removing it. You can get poisoned if you ingest or inhale the toxic chemicals that batteries contain.


Step 16
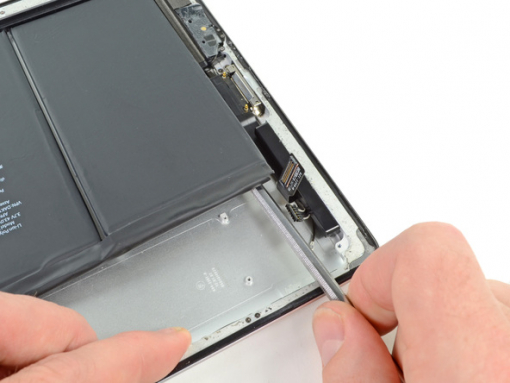
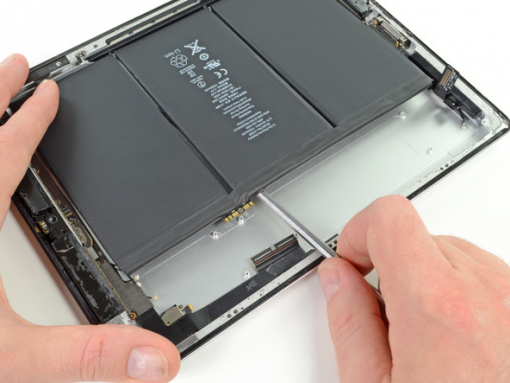
Push the flat end of a metal spudger under the battery. Do this near the bottom of the iPad.
Move the spudger about 3.81 cm underneath the battery and release the adhesive.
Note that the adhesive is extremely strong and that loosening it will require force. Do this carefully and patiently and make sure that the spudger doesn't slip.


Step 17
Do the same thing as in the previous step: move the spudger about 5 cm under other adhesive strips.


Step 18
Carefully move the metal spudger under the battery connector. This will release the adhesive that's securing the battery connector.


Step 20
Push the metal spudger two more inches underneath the battery. Continue where the last pass left off.
Keep the spudger as flat against the rear case as possible the further your push it. This way you'll avoid bending the battery.
Do the same for the rest of the adhesive strips.


Step 21
The process is the same as in the previous steps: loosen the adhesive on the strips by pushing the spudger about 10cm in.


