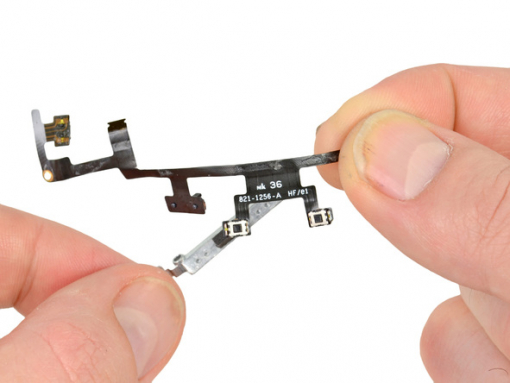
iPad 4 Wi-Fi Power & Volume Buttons Replacement


Step 1 - Front Panel Assembly (2)
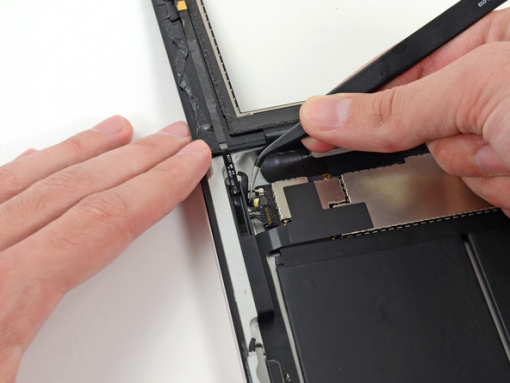
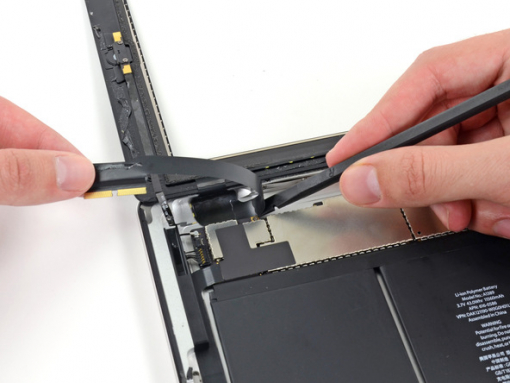
If there's a piece of electrical tape covering the Wi-Fi antenna, speaker cable and the home button ribbon cable, remove it.


Step 3
Pull the home button ribbon cable out of its socket on the logic board. Do this with a pair of tweezers.
Step 5
A piece of tape is securing the digitizer ribbon cable to the logic board. Peel it back with a pair of tweezers.


Step 7
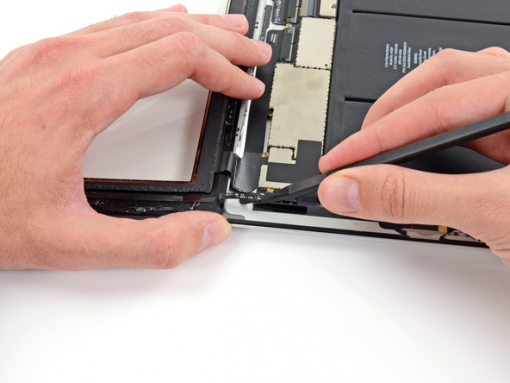
Loosen the adhesive under the digitizer ribbon cable with the flat end of a spudger.
Take out the digitizer ribbon cable out of its sockets on the logic board.


Step 8
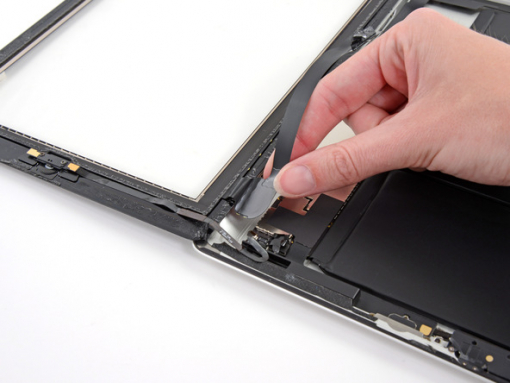
Peel back the digitizer ribbon cable. Separate the cable from the adhesive securing it to the rear aluminum case with the flat end of a spudger.
Step 9
Take the digitizer ribbon cable out of its niche in the aluminum frame. Do this with your fingers.
Separate the front panel from the iPad.


Step 10 - Headphone Jack Cable
Back to top
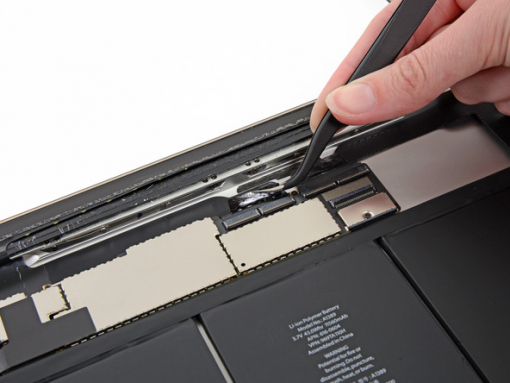
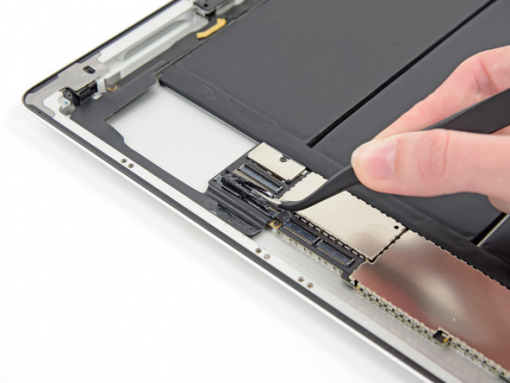
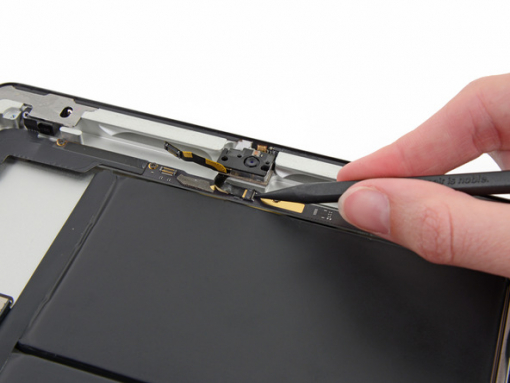
There's a piece of electrical tape covering the headphone jack assembly cable connector. Use tweezers to peel back the tape and remove it.
With the tip of a spudger, lift up the retaining flap on both ZIF connectors securing the headphone jack cable to the logic board.


Step 11
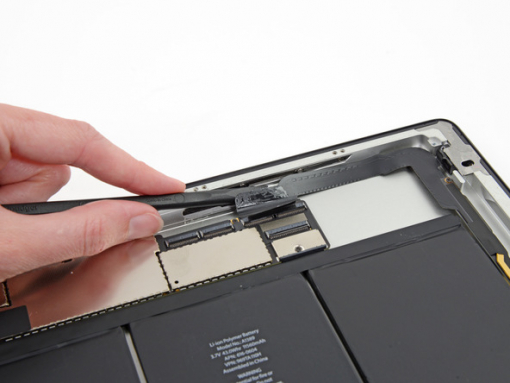
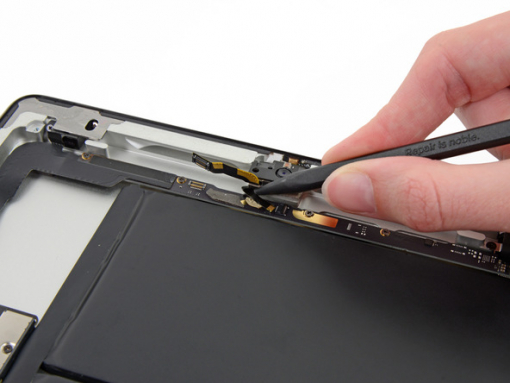
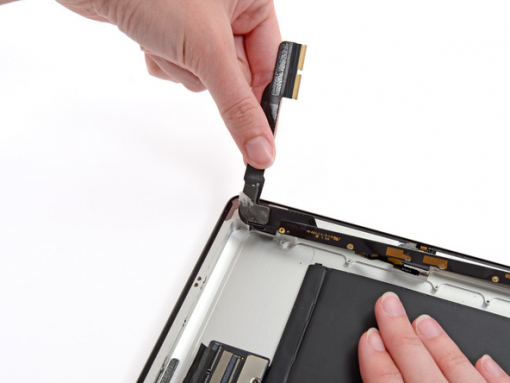
Push the flat end of a spudger underneath the headphone jack assembly cable and release the adhesive that's securing it to the rear aluminum frame.
Take the headphone jack assembly cable out of its socket on the logic board.
Step 12 - Headphone Jack Assembly
Back to top
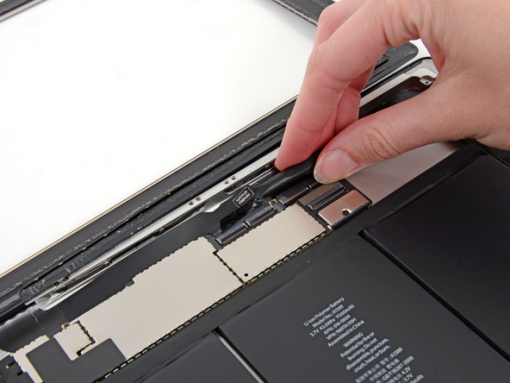
Move the front-facing camera ribbon cable aside using the flat edge of a spudger. Do NOT remove it.


Step 13
There's an adhesive tape covering covering the headphone jack assembly. Peel it back and remove it.


Step 15
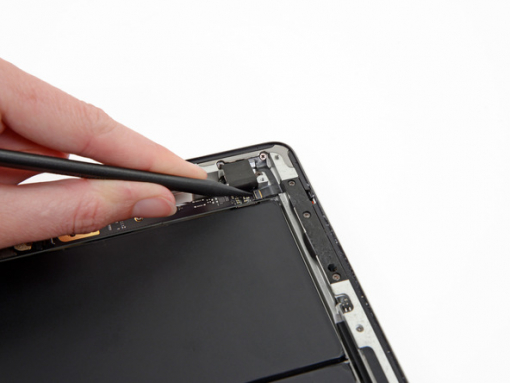
Insert the tip of the spudger under the microphone ribbon cable. Gently push the cable out of its socket on the ZIF connector.
Move the microphone ribbon cable to the side with the flat edge of the spudger.
Step 16
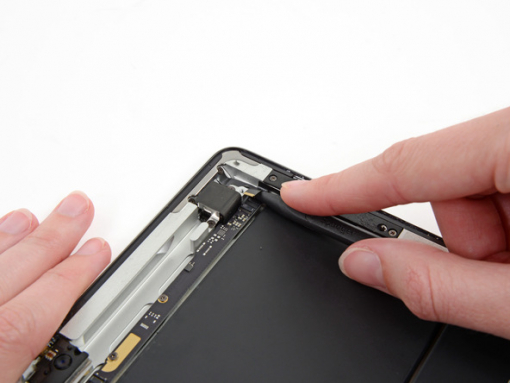
A retaining flap is securing the volume/power button ribbon cable connector to the headphone jack assembly board. Flip it up.


Step 17
Move the volume button ribbon cable away from the ZIF connector.
Carefully bend the volume button ribbon cable upwards in order to move it aside.


Step 18
There are nine screws on the headphone jack assembly. You need to remove them.
Five 2.6 mm Phillips screws
Two 2.2 mm Phillips screws (Wide Head)
Two 2.6 mm Phillips screws
Make sure to hold the screwdriver in line with the screw, because the screws are angled into the aluminum frame and could be stripped easily.
Step 19
Hold the ribbon cable of the headphone jack assembly. Gently pull the assembly up and towards the top of the device.


Step 20
Pull the assembly from the iPad while holding the headphone jack assembly with your other hand. Make sure that the cables don't get caught.
Step 21 - Power & Volume Button Assembly
Back to top
There are five screws securing the power and volume button cable to the aluminum frame:
Two 5.5 mm Phillips screws
One 2.6 mm Phillips screw
Two 2.6 mm Phillips screws
The first two are angled into the aluminum frame, so make sure that the screwdriver is line with the screw.
Step 23
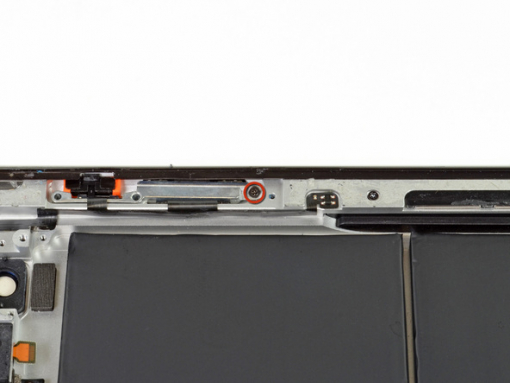
One 2.6 mm Phillips screw is securing the volume button frame to the aluminum frame. You need to remove it.
This screw is also angled into the aluminum frame. Make sure that the screwdriver is line with the screw.
Step 24
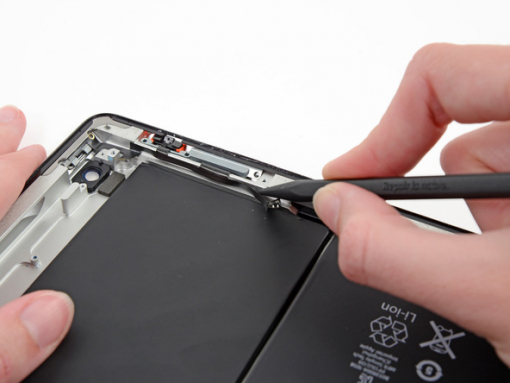
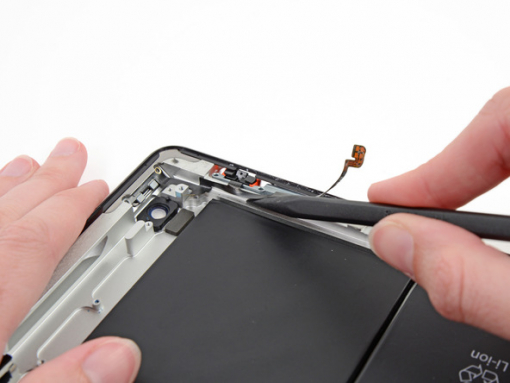
Insert the edge of a plastic opening tool under the sleep/wake sensor. Be careful not to damage the cable, because it is very fragile.
Release the adhesive by moving the plastic opening tool around the sensor.


Step 26
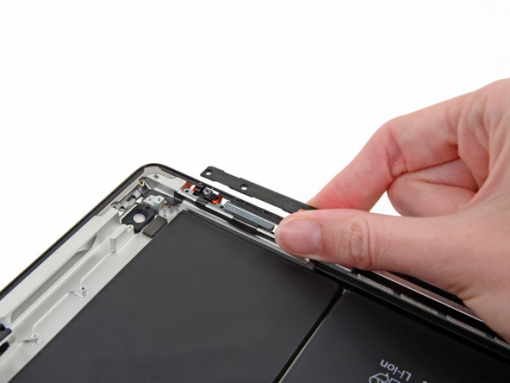
Separate the volume button branch of the ribbon cable from the adhesive using the tip of a spudger.
Keep sliding the tip of the spudger toward the top of the iPad, releasing the adhesive as you go.
Leave the tip of the spudger underneath the ribbon cable and use it to gently lift the power button out of its socket in the aluminum frame.


Step 28 - Power & Volume Buttons
Back to top
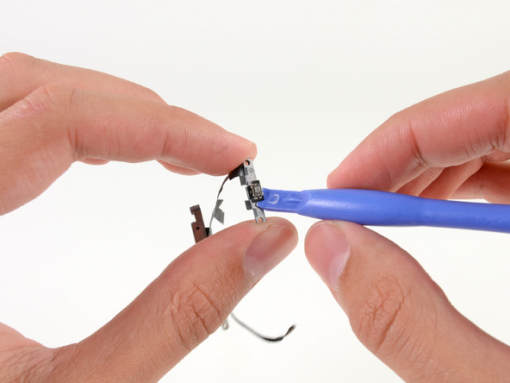
Insert the tip of the plastic opening tool under the top side of the power button.
Lift the topside of the power button off the power button bracket.


Step 29
Repeat the process for the underside of the power button.
Lift the power button bracket from the power and volume button assembly completely and then remove it.


Step 30
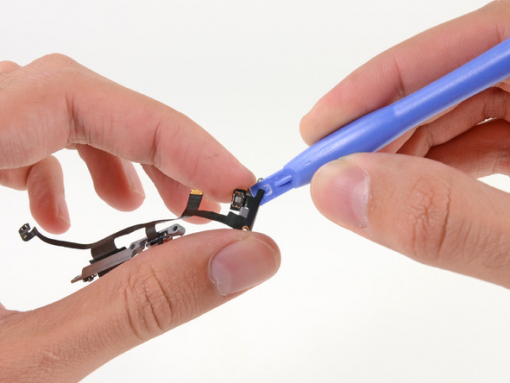
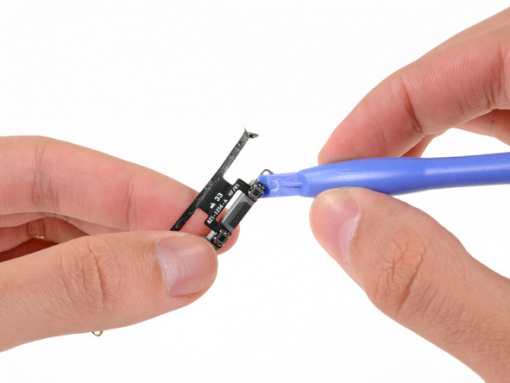
Push the tip of the plastic opening tool under the top side of the rotation lock/mute switch.
Move the opening tool down in order to take the topside of the rotation lock/mute switch out of its bracket.


